Before/After: Basement Laundry Room Renovation!
/The time has come! The basement laundry room renovation is finally done! This has been a long time coming. I’ve slowly done projects over the past year and it’s finally come together. I’ve been waiting to do the last finishing touches and we are finally there! Today I’m going to show yall all the angles and finished photos of the laundry room! I’m a little sad I didn’t take better before photos of the “true” before when I first moved it. It was bad. It was honestly creepy in the basement, but I will show yall what I got!
Quick Sources
Stair Installer - Vine Woodworks
How to Paint Stairs Post (Paint Color is SW Windstorm)
DIY Cabinet Doors Post
Sink Cabinet - Ikea
Sink - Ikea
Faucet
Butcher block countertop
Upper Cabinets
White Metal Baskets
Rug
Floor tile
Backsplash tile
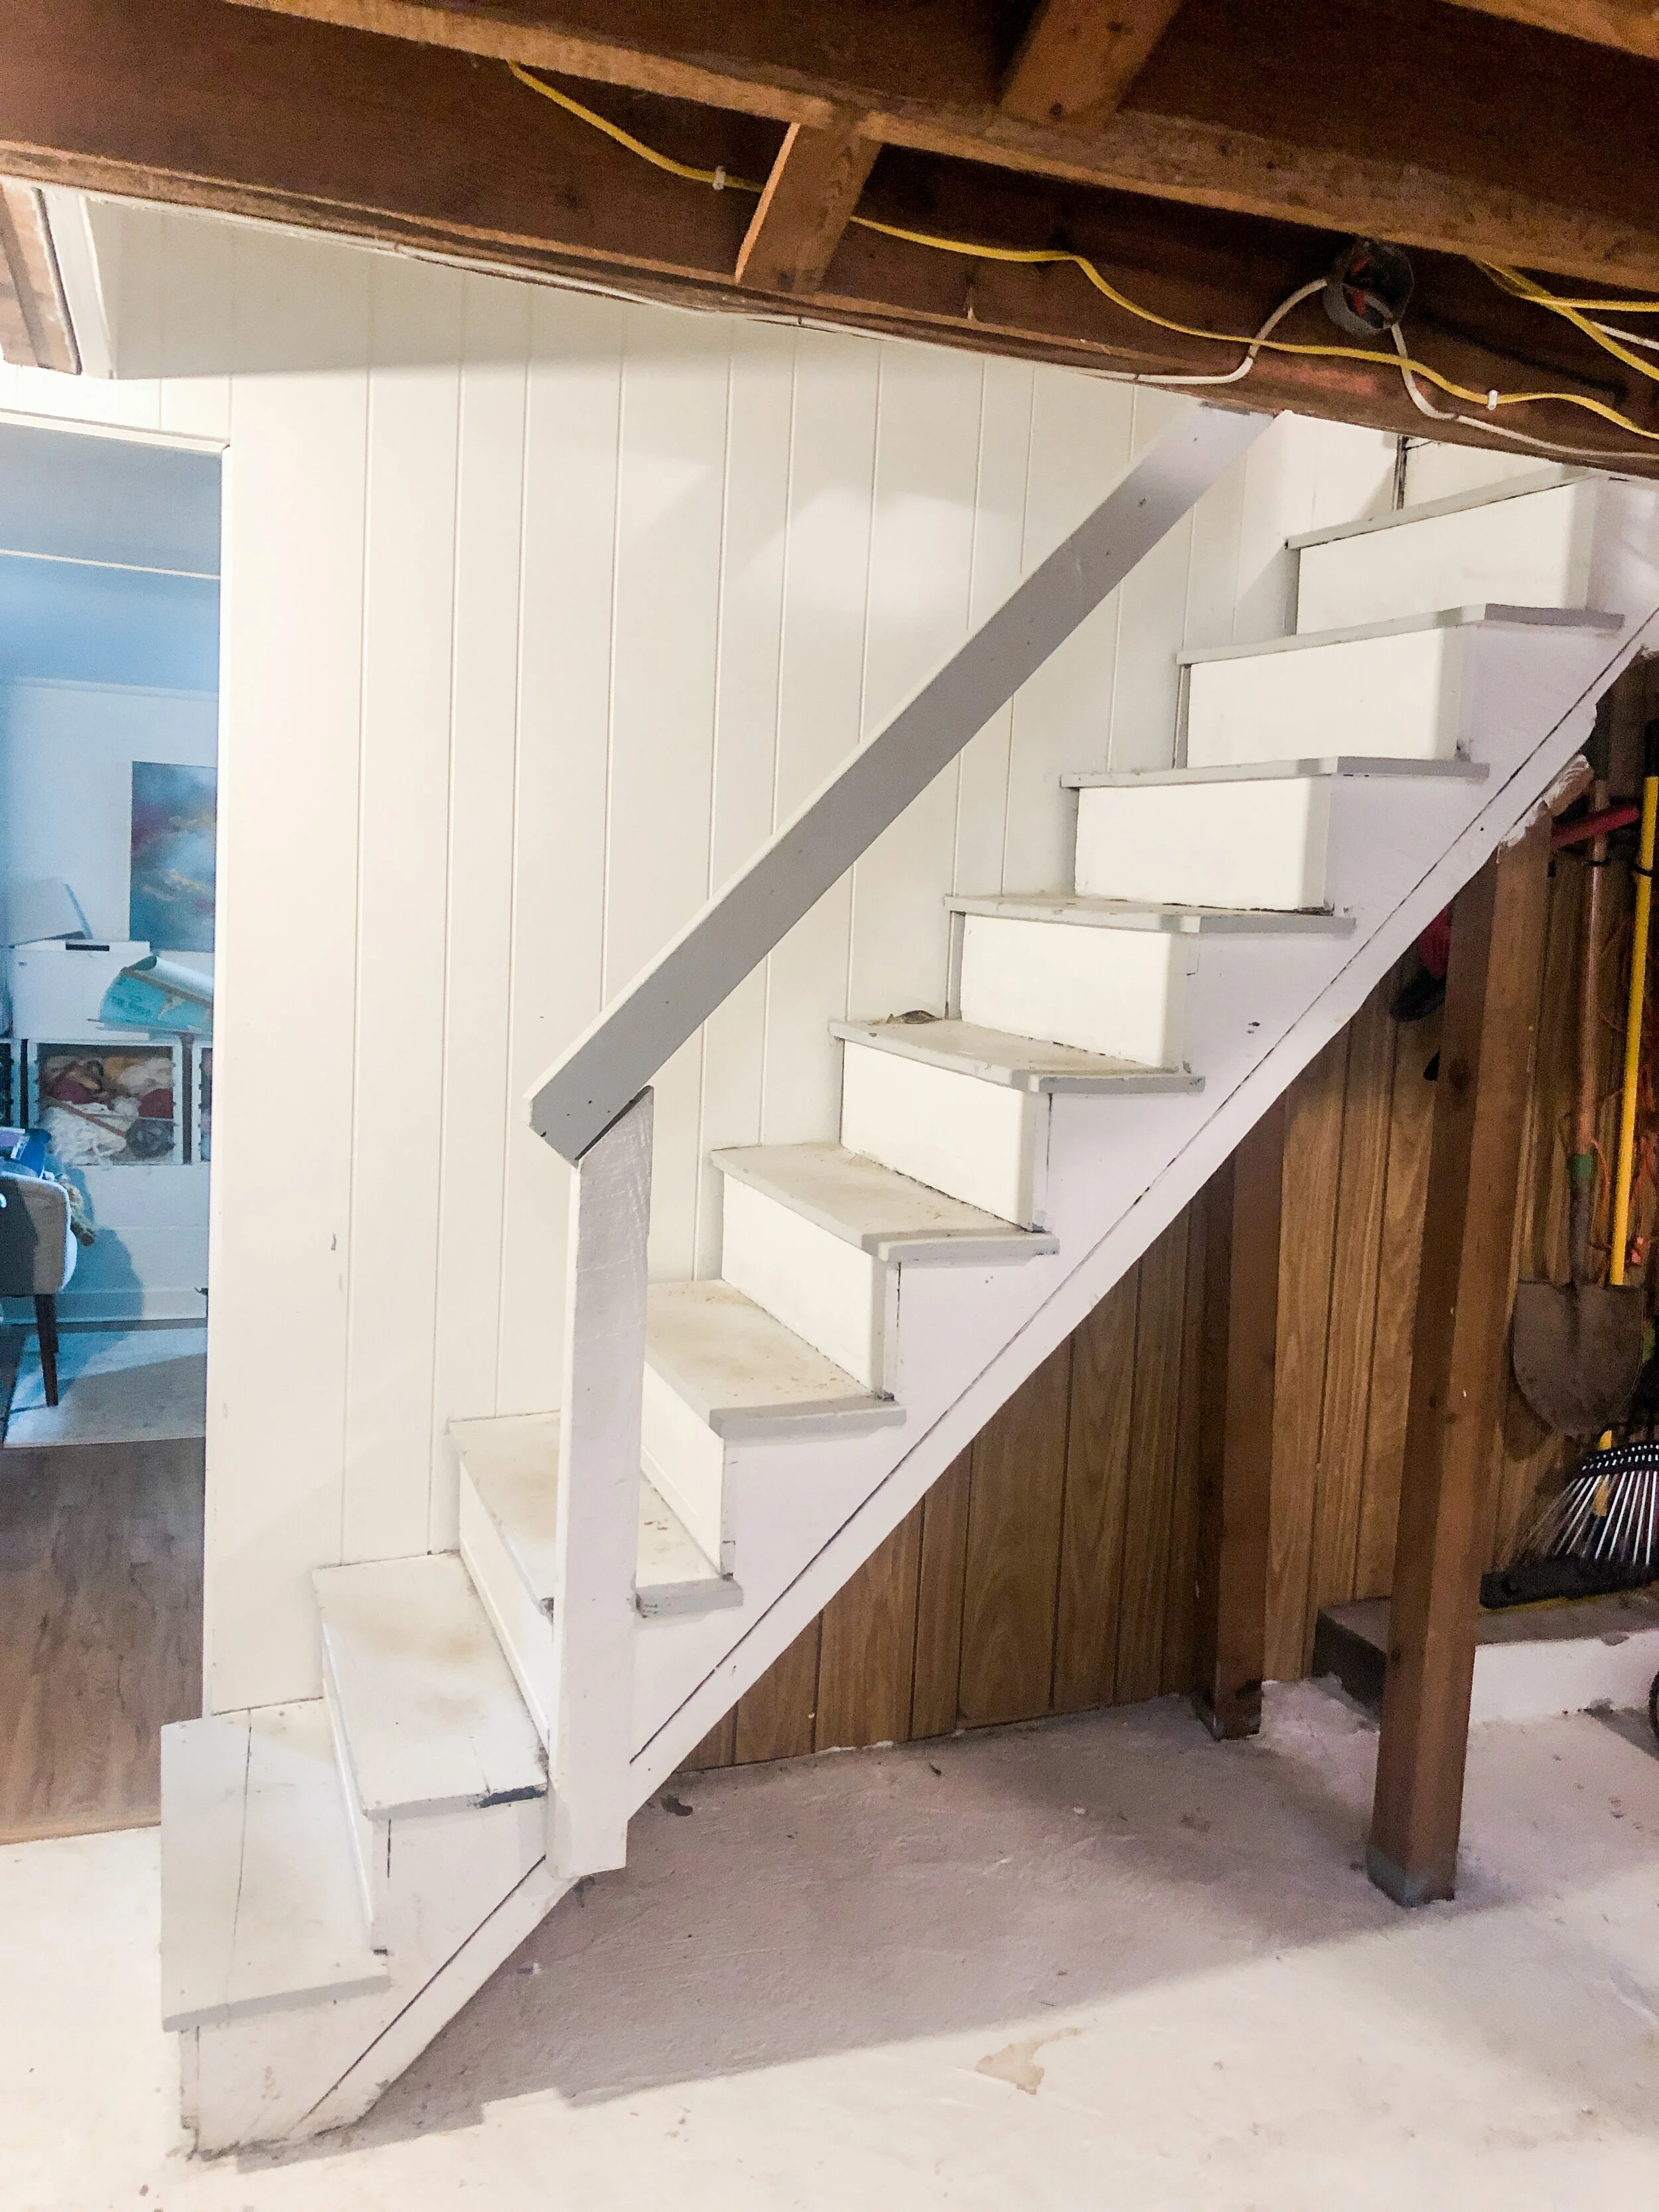
Where we started


See what I mean? Exposed concrete floors, an old rickety shelf for the laundry, and creepiness all around. Still had paneling and a very old staircase. The first thing I did was paint the paneling white and get an Ikea cabinet to put above the washer and dryer to get rid of the shelf. I also added some floating shelves around it as well. We had to move the pipes and wires during the process so that was done as well to accommodate for the cabinet.
Creating Cabinet Doors
The next thing I did was build cabinet doors, which you can read about how to make here! This was a super simple project and made the space feel so much cleaner and organized being able to hide all the junk on the existing shelves!


Replacing the Stairs
This was the biggest step and change to the basement thus far. Painting the stairs was a temporary fix, but they squeaked a lot and didn’t feel safe to go down. I hired local stair builders and told them the look I was going for and they did a great job. They ended up closing in the top half of the staircase and creating a beautiful railing. They left everything unfinished and I painted and stained the stairs which you can read about here. Along with the staircase, they also framed in a closet area underneath the stairs, and we finished that out as well!


This last picture you can get an idea of where the closet is and the wall they ended up creating for the staircase.
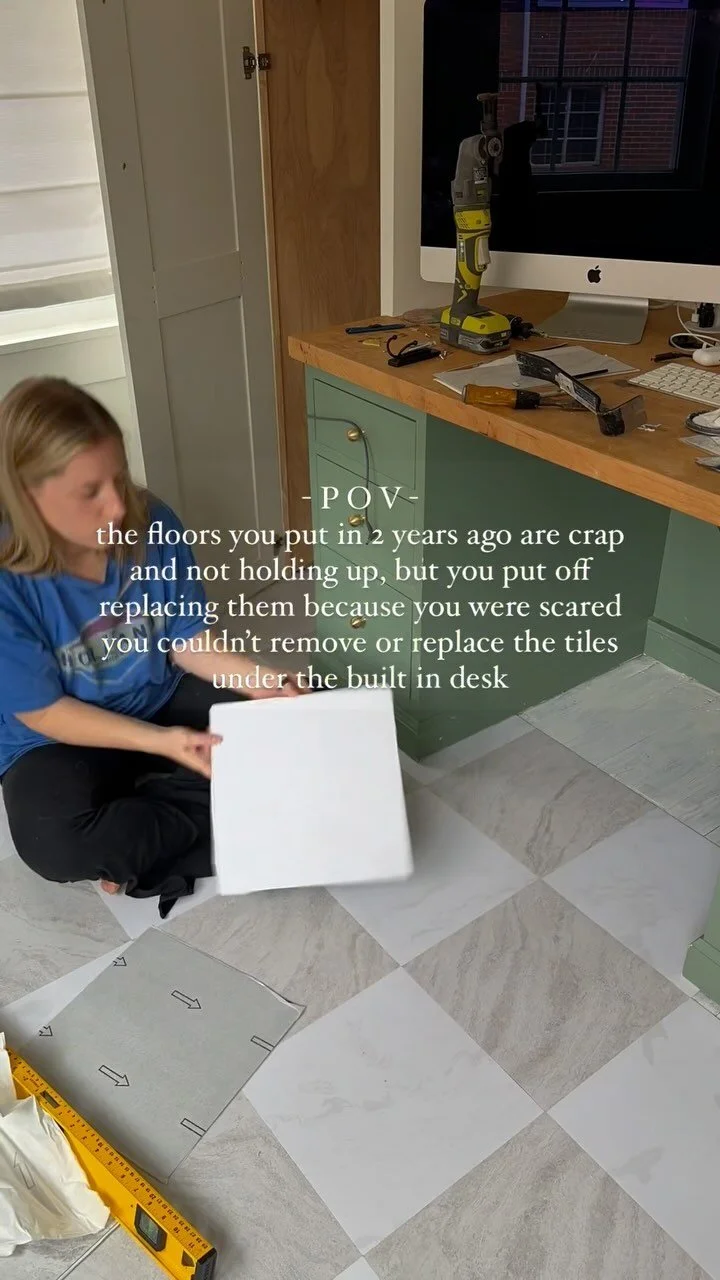
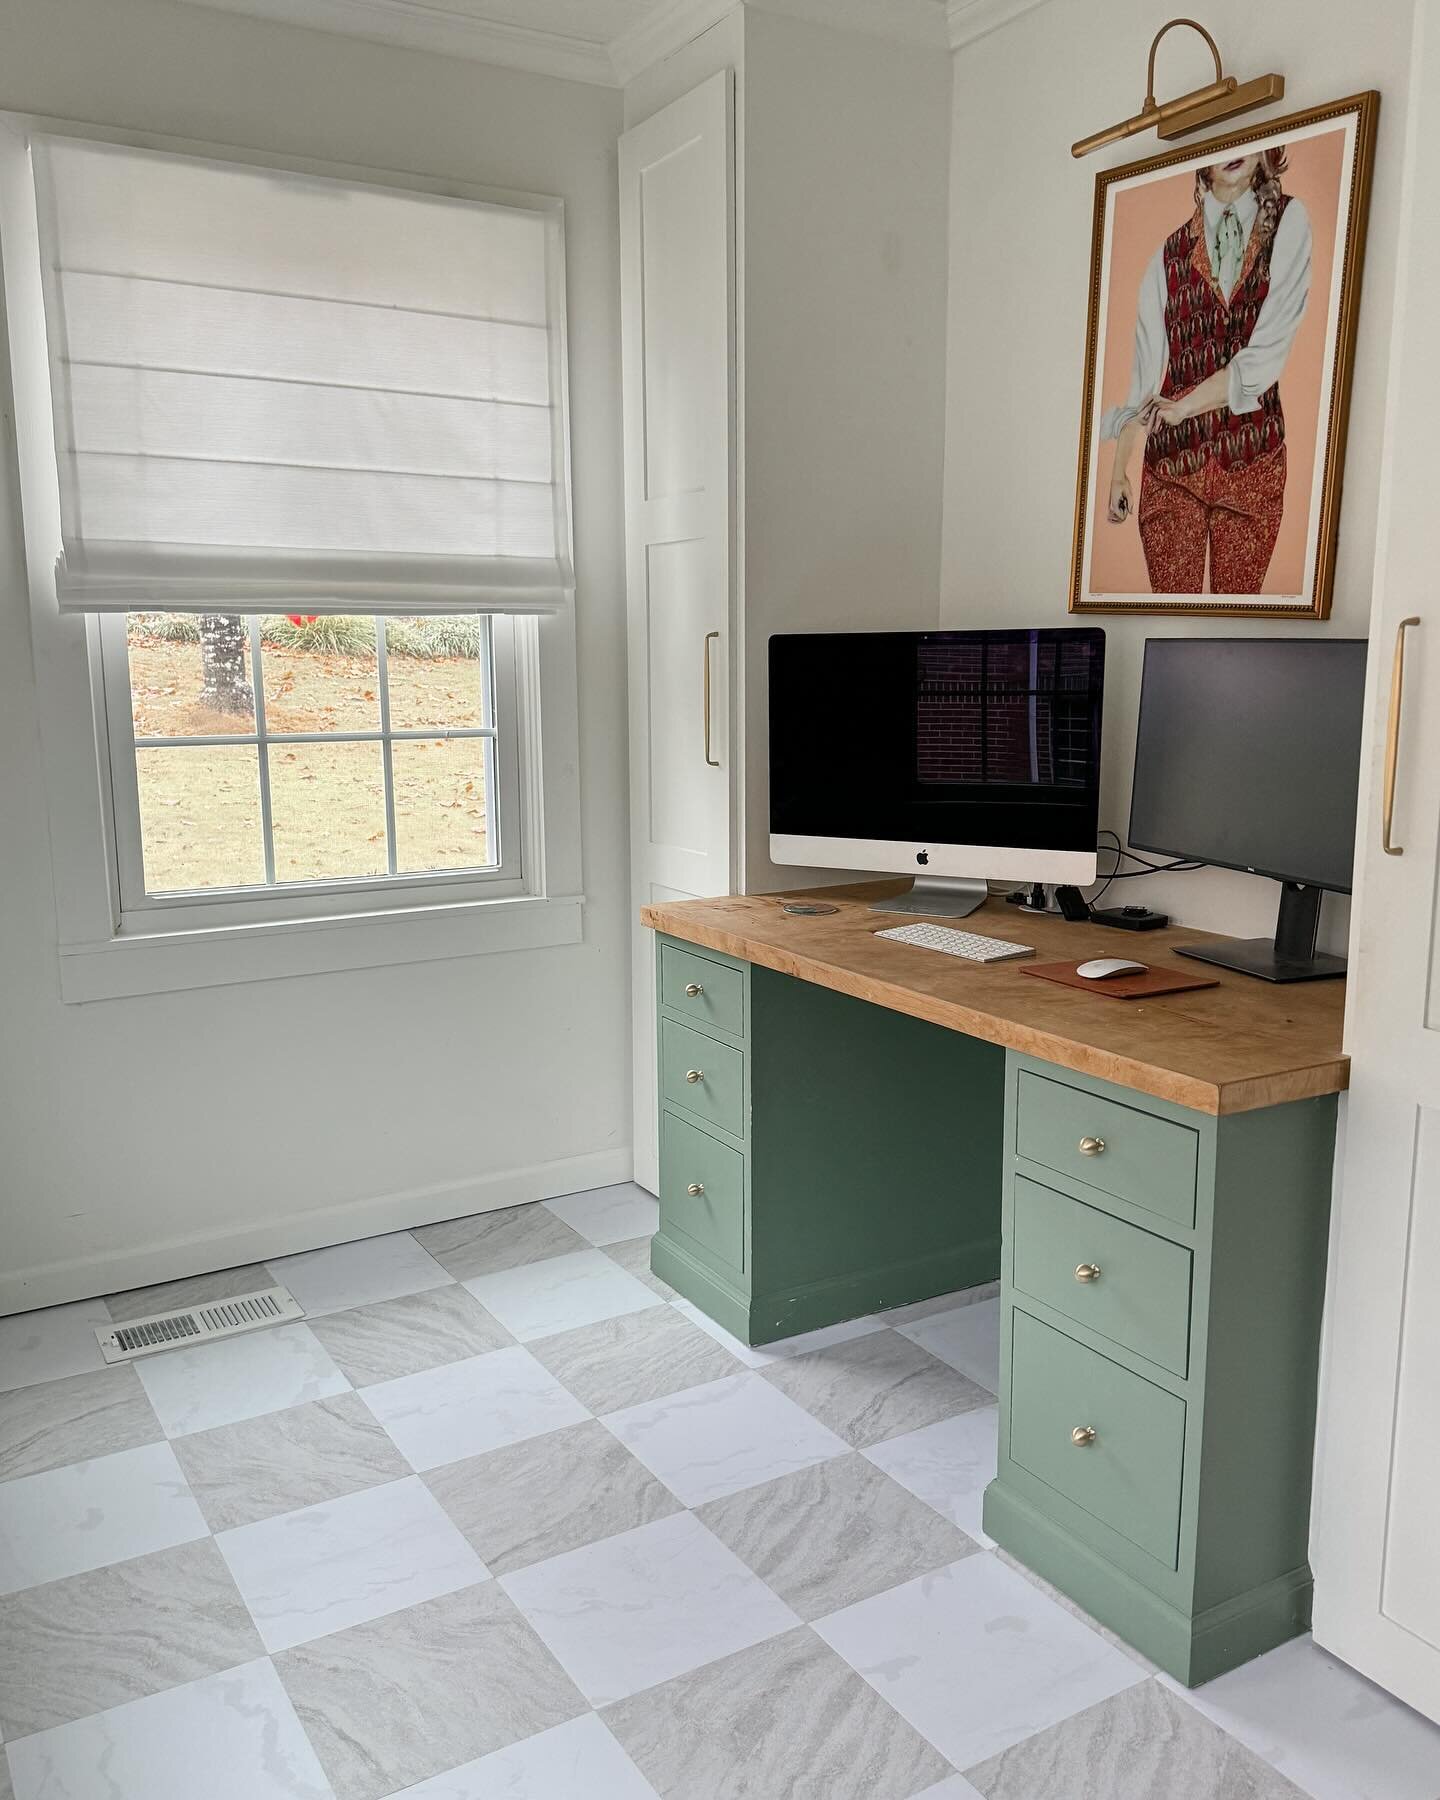
Laying Tile Floors!
Another big project was laying the tile floors. With all the weird angles down here, I decided to hire this one out. I’m happy I did too! They had to level the concrete floors, then lay the tile.


Adding in a Sink
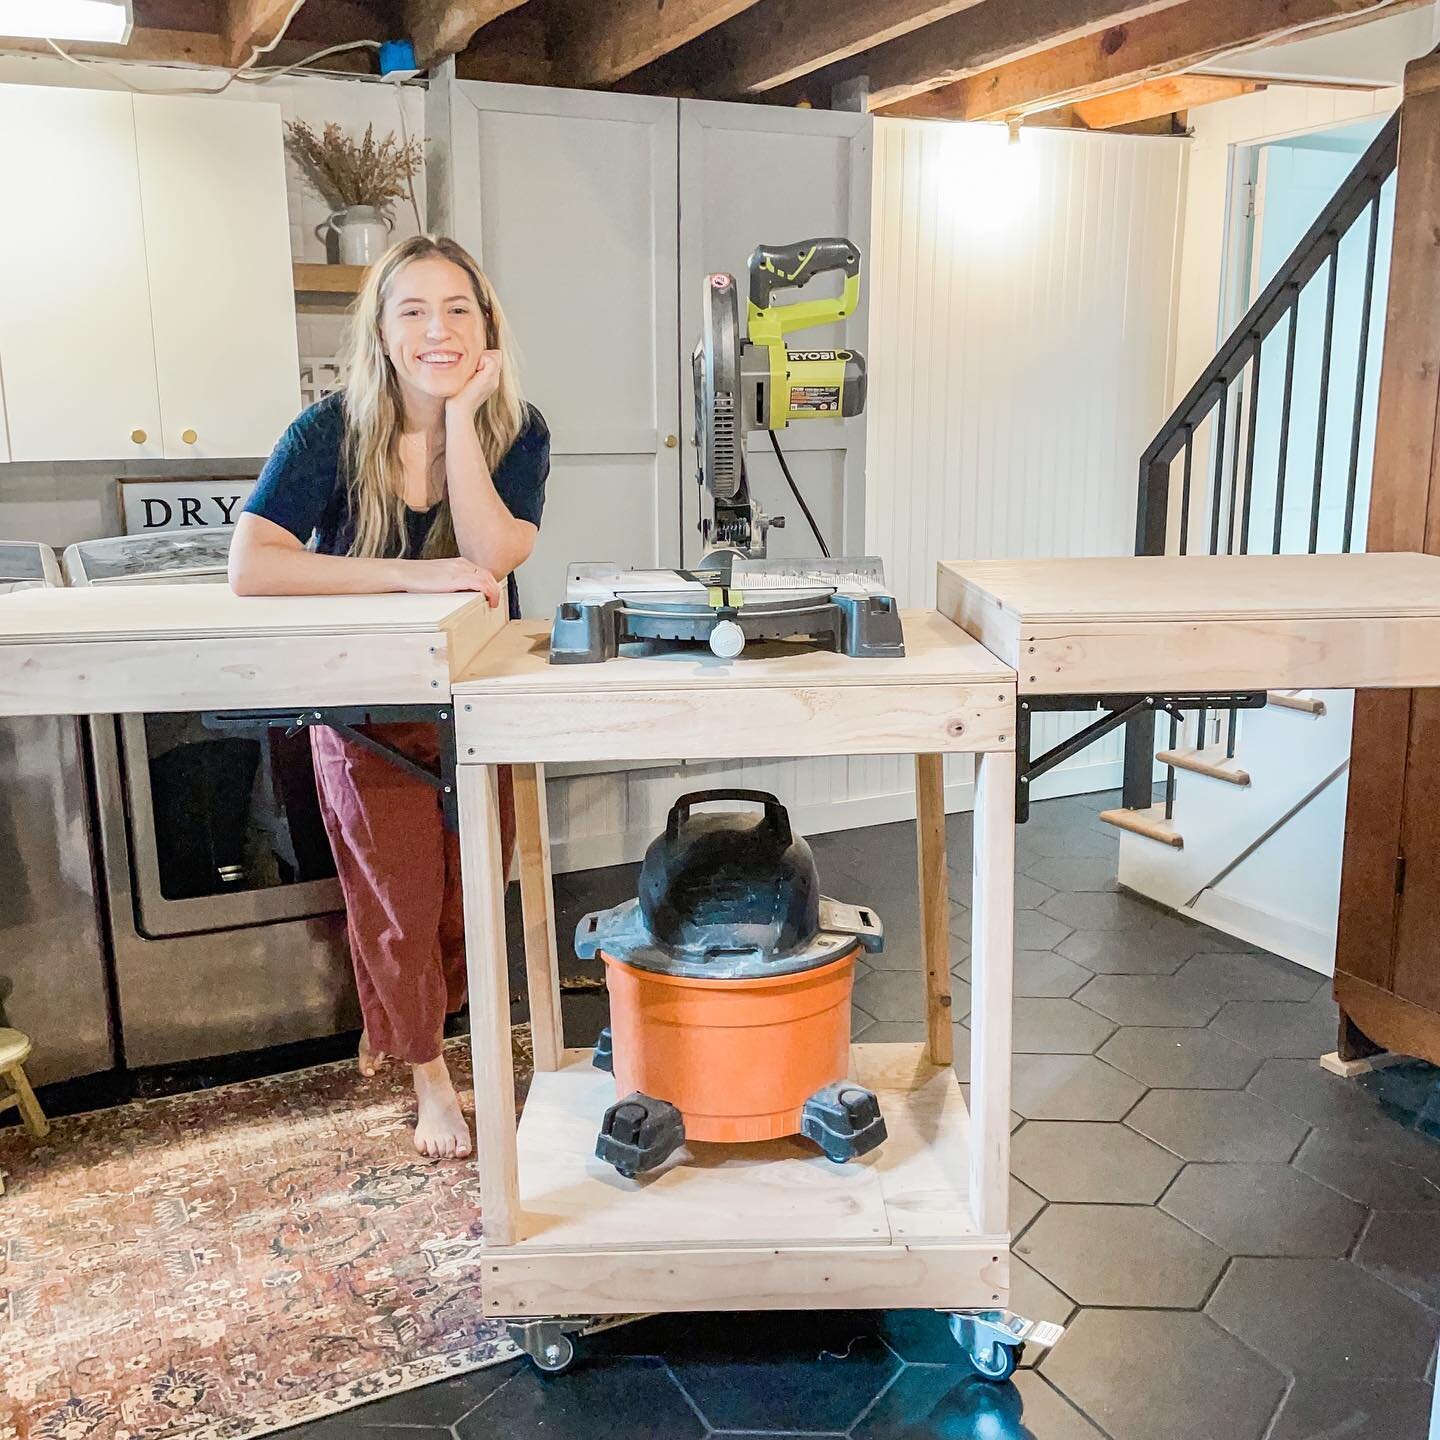
I knew I wanted to add a sink down here as well, so you could hand wash clothes or just use it for when I work on projects and not have to go upstairs to wash my hands. I bought a lower Ikea cabinet, the Havsen sink, and an unfinished piece of butcher block countertop to create the sink area. Links below if you would like to recreate! I hired my handyman to put in the plumbing work, and since we’re in the basement, we had to put a pump to get the water out as well.


Finishing Touches
Lastly, I just did some finishing touches, including making the shelves floating shelves, tiling the wall next to the cabinet, and adding bead board to all the walls to cover the cinderblocks. I love how it has turned out! I still plan to replace the door that goes out the patio, but pretty happy at where we are. Take a look at some of the finished look!