How to Make a Solid Wood Framed Mantel (in two hours!)
/
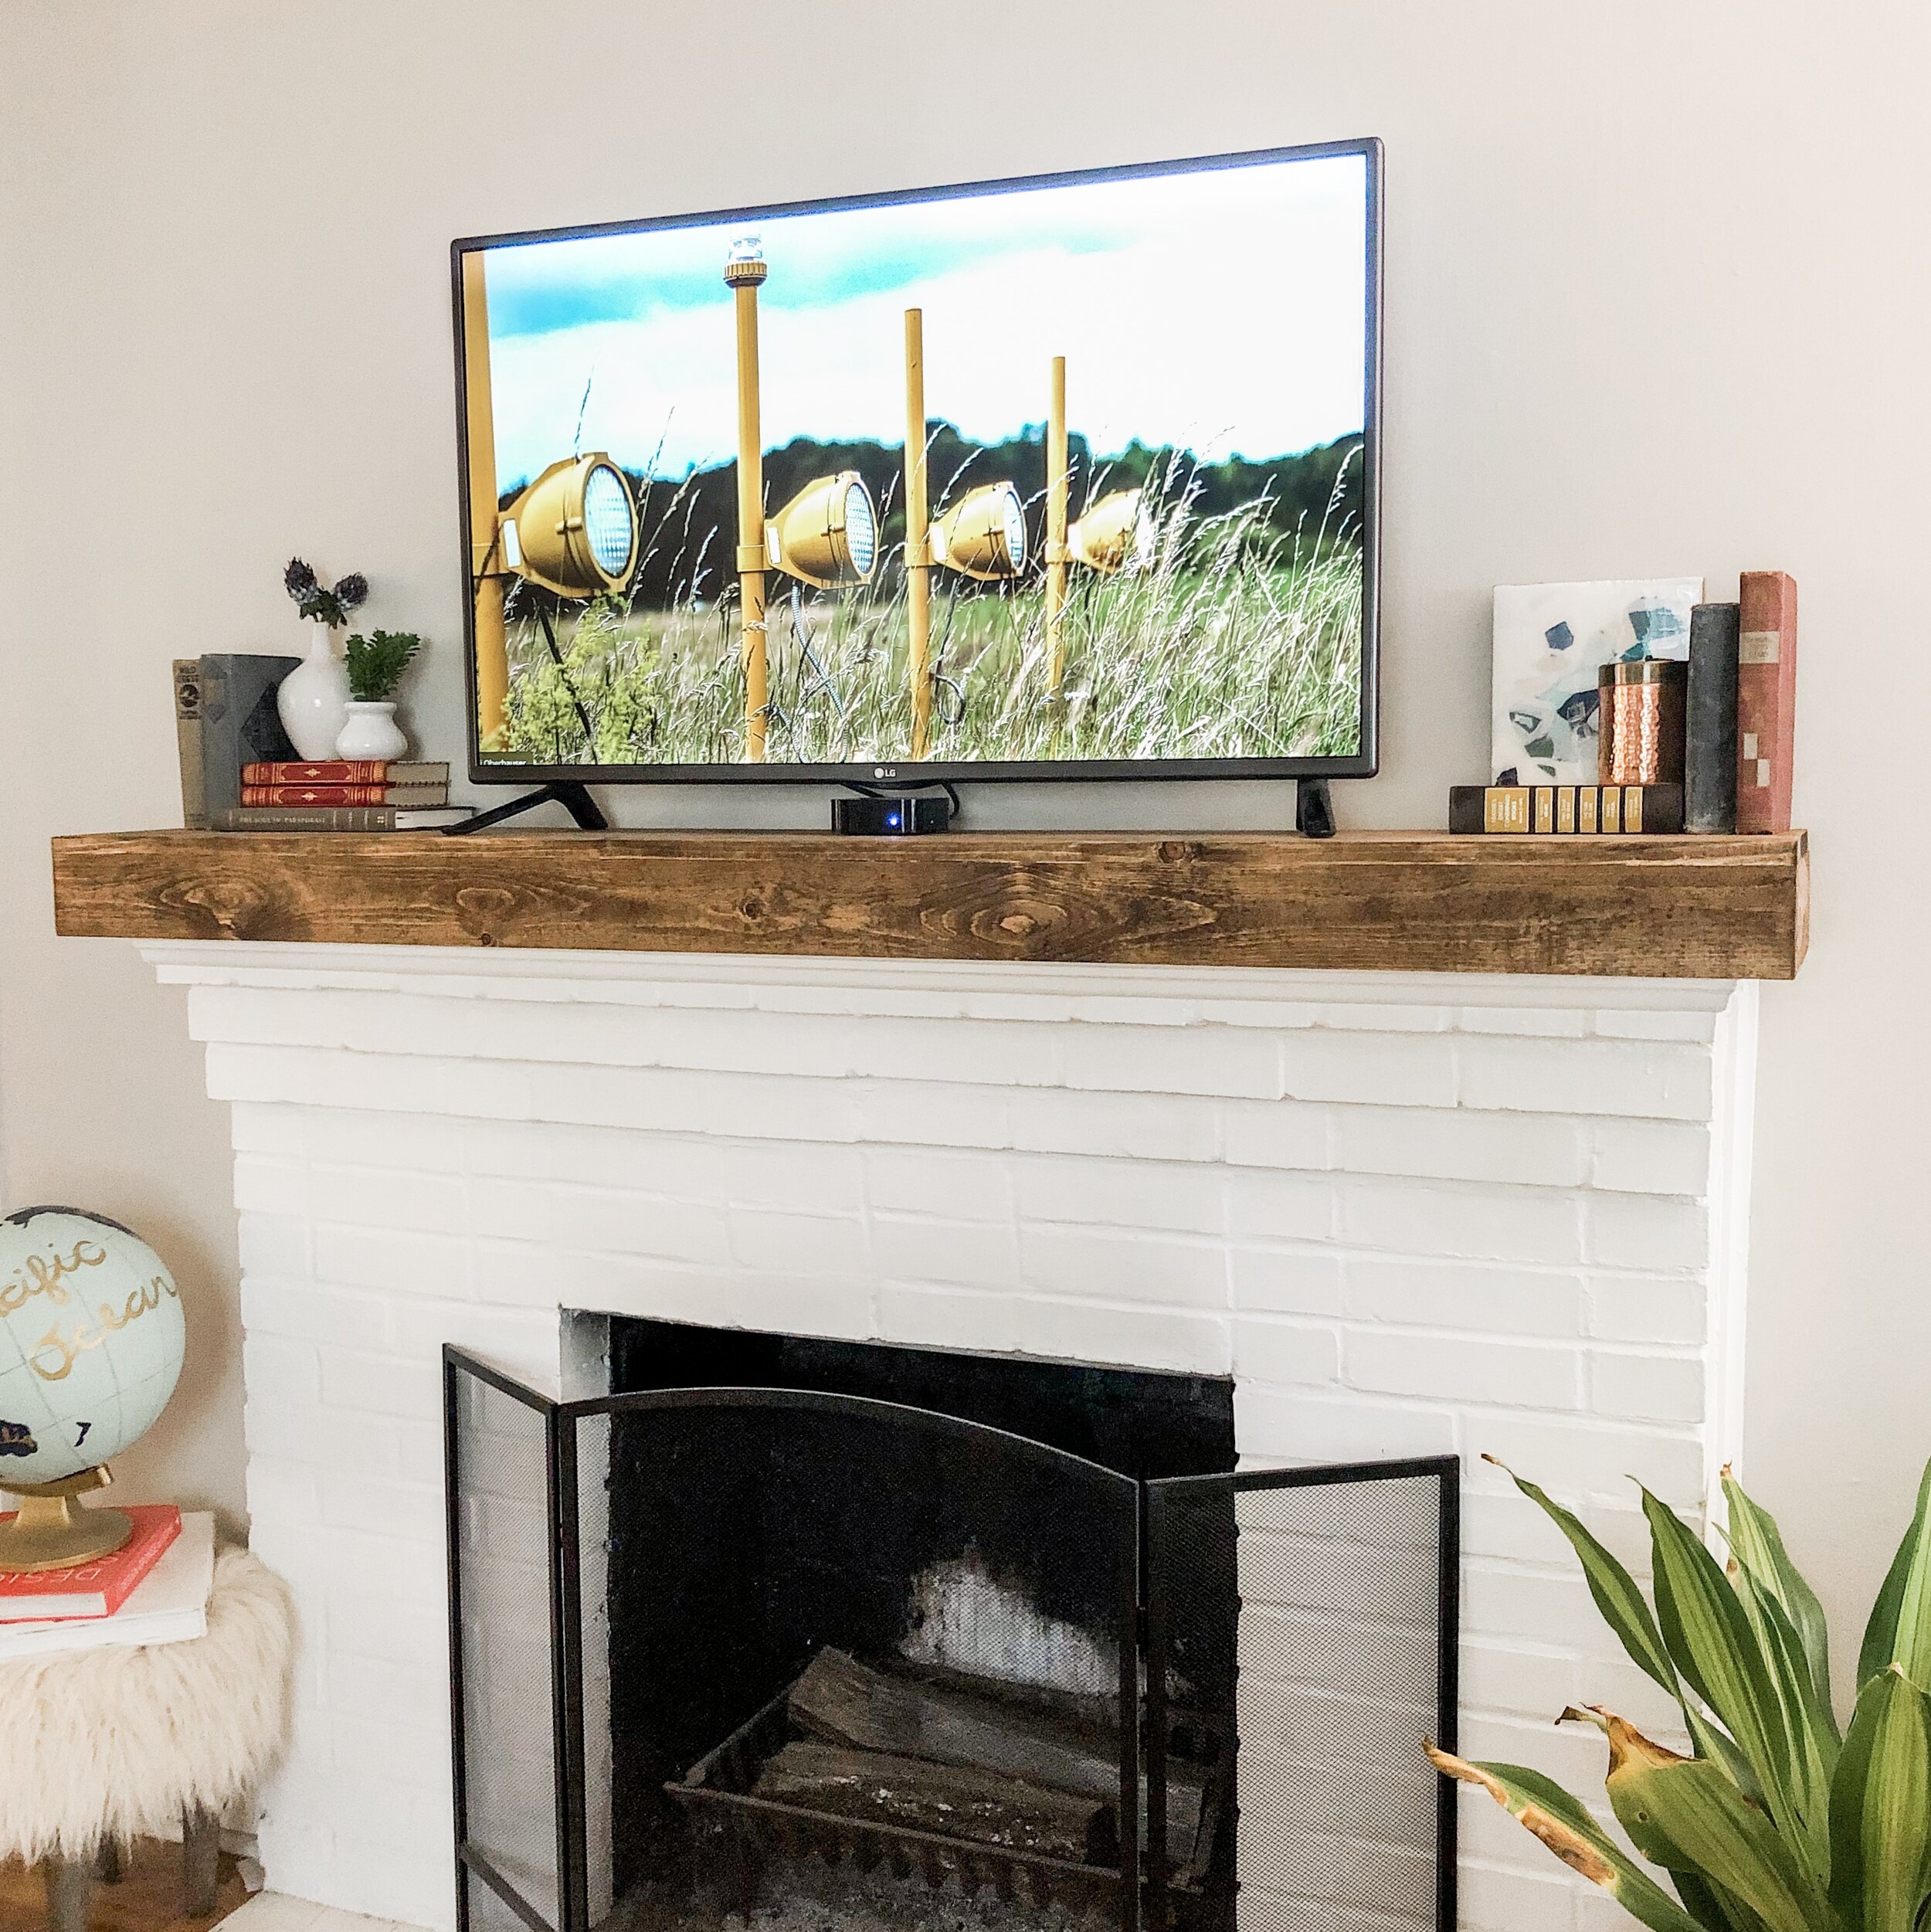
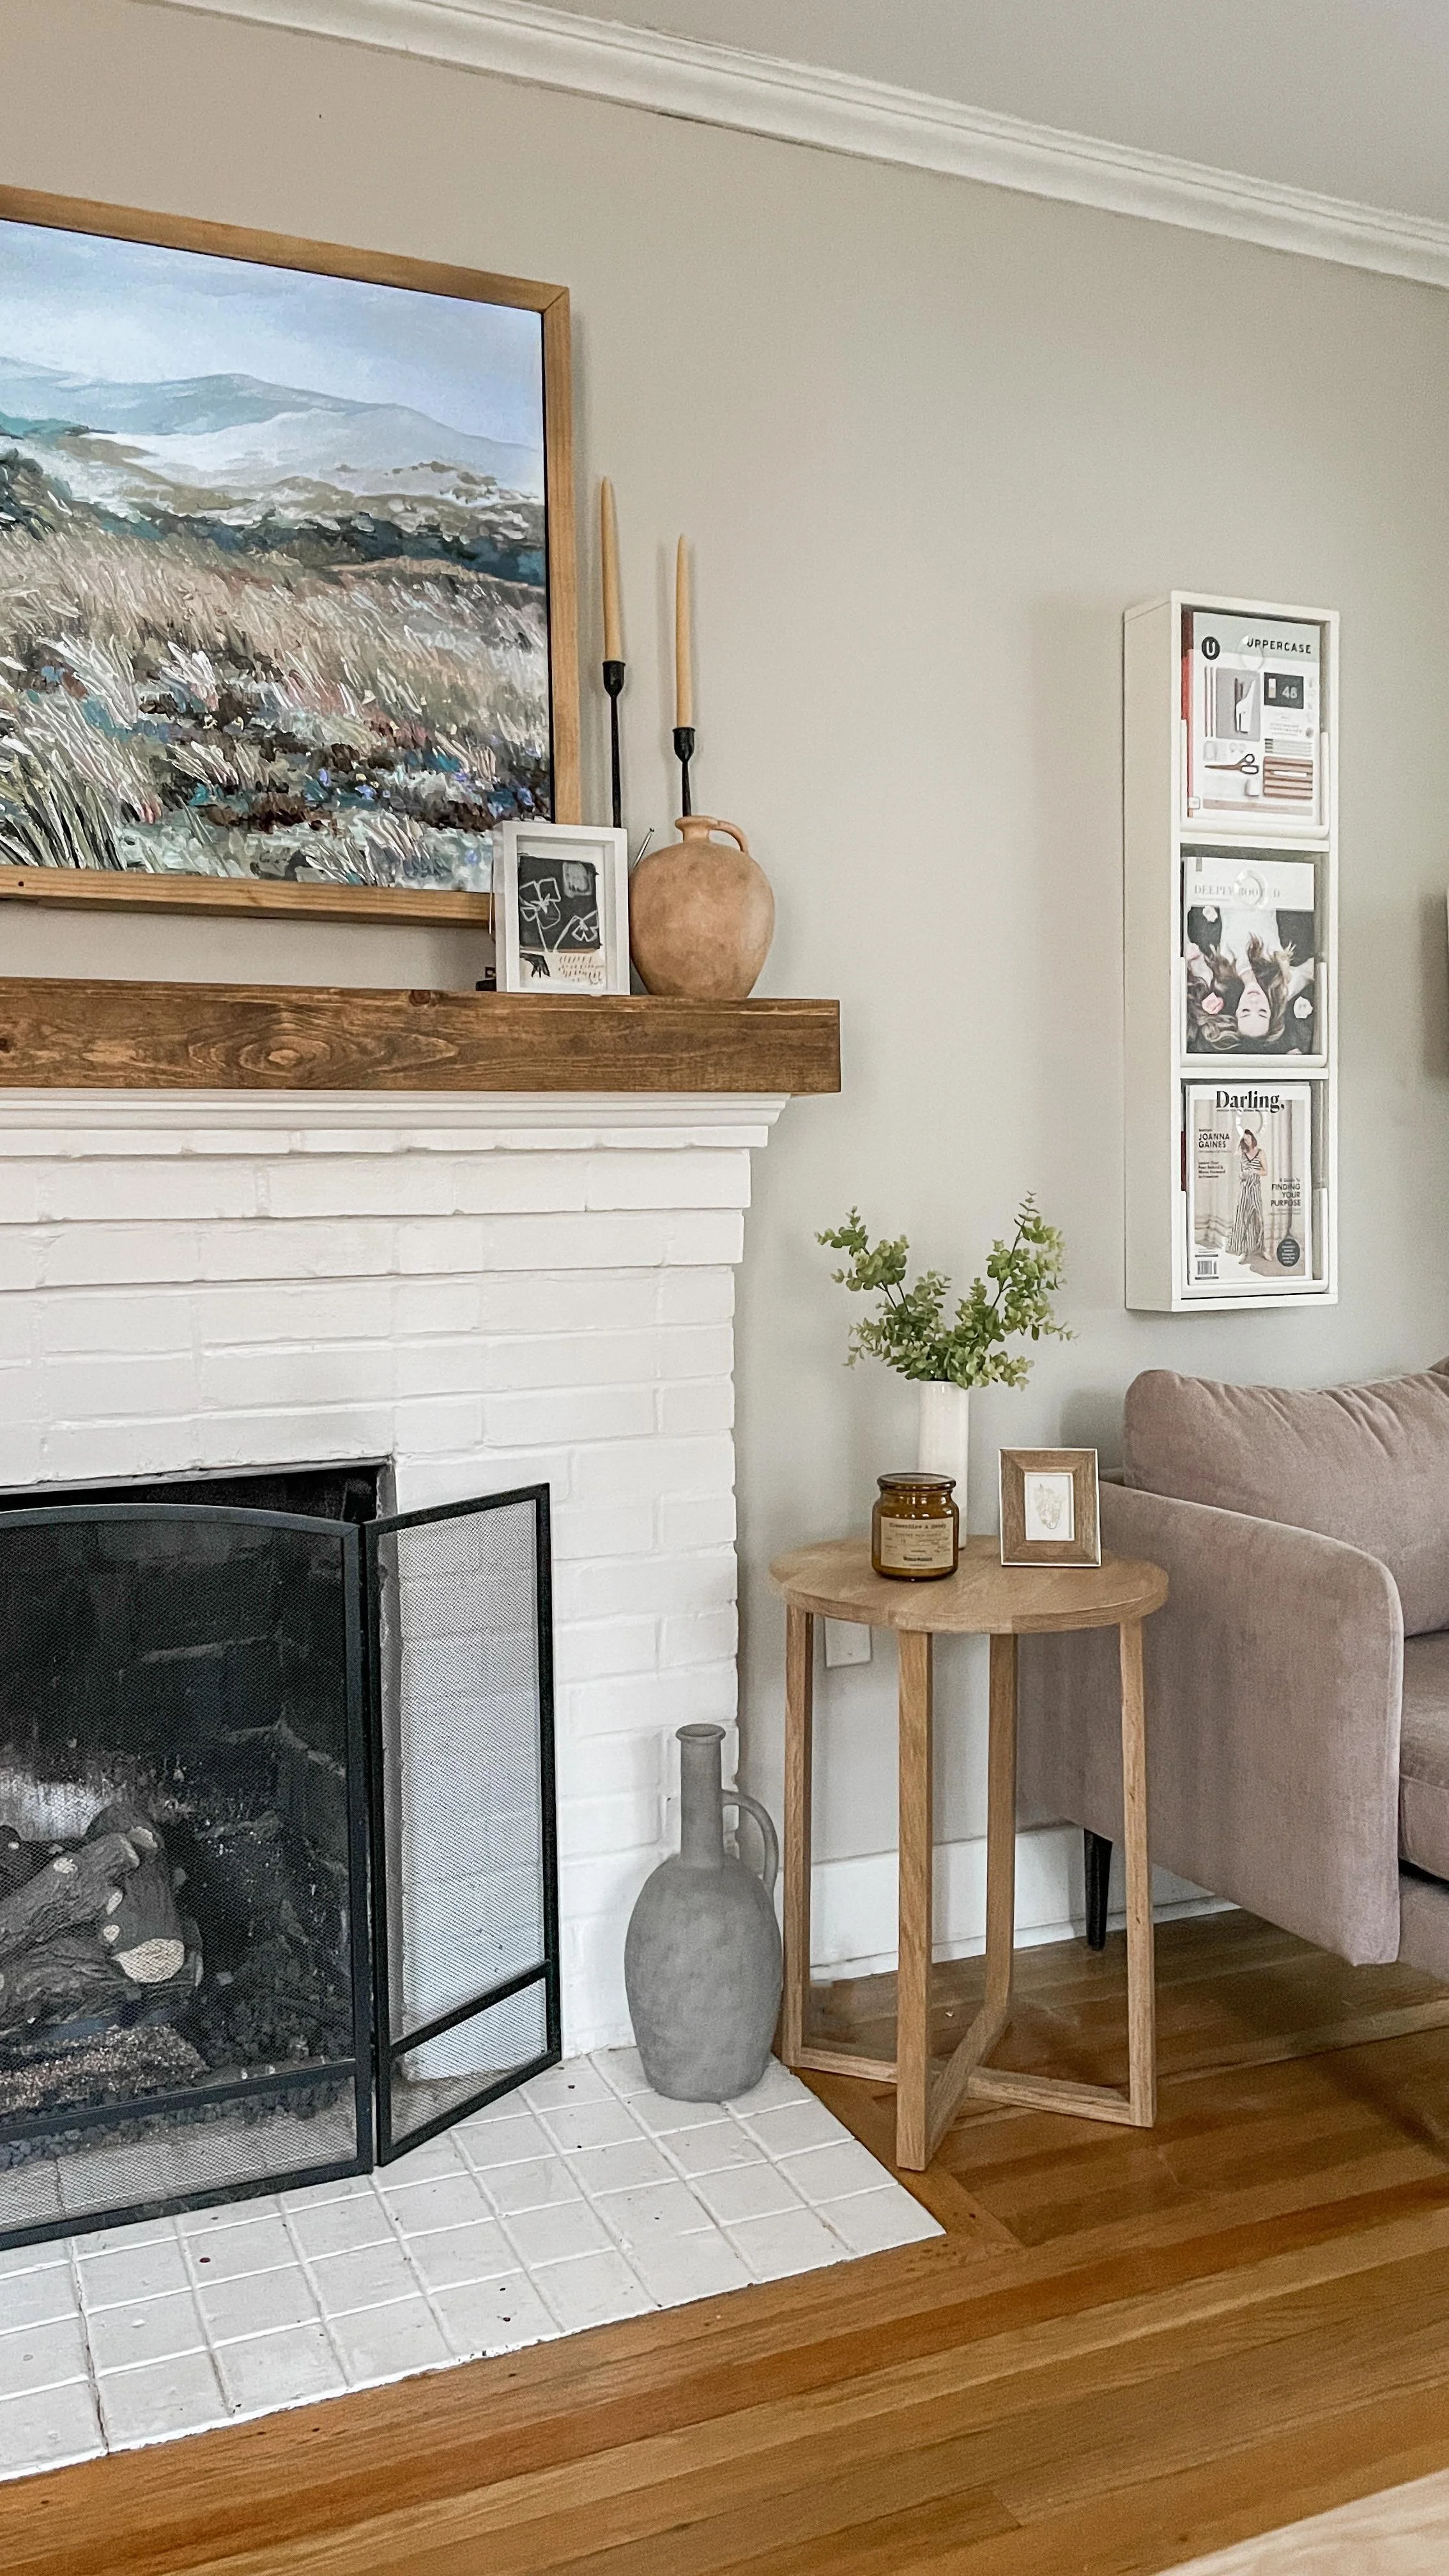
You guys - this project was SO easy! I was shocked and kinda wish I had done it sooner! I have always wanted a wood mantel, but my mantel is solid brick. It’s not going anywhere. So I came up with the idea of making a wood frame to fit on top of it. This gives it the look of a solid wood mantel but is much cheaper and took way less time!
The best part is it only cost me $30!
Keep in mind I only had to buy the wood, I had everything else on hand. It might cost more if you don't have the right tools on hand, but not all supplies are necessary. I think the Kreg Jig is a must, but you can buy one for as little as $20. You can also use a manual saw or sand the wood by hand if you don’t have a circular saw or electric sander.

Getting Started
Supplies
Wood of your choice:
1x4x8 - side & end pieces
1x12x6 - top piece
Wood glue (Optional)
Stain of your choice (I used Miniwax Provincial)
Tools
Kreg Jig ( I have the cheaper version or you can buy the nicer one here)
T Square (Optional)
Electric Sander ( I used medium grit sand paper)
If you’re looking to get a tool set I have this one and is amazing value! (especially on Black Friday)
Step by Step
You will need to measure the size of your mantel. Everyone’s mantel is different and you will have to purchase the correct amount of wood based on your mantel size. My mantle measured 11 in deep and the sides were 3.5 in tall. I got a 1x4 board for the sides and a 1x12 board for the top. This may vary for you, so make sure you measure your mantel and choose your wood based on those measurements. Also, keep in mind how much wood you need. My mantel was 68 in long, so I only needed a 6ft board for the top but needed an 8ft board to cut all the side pieces.

You’ll see here I marked where I should cut the wood by lining up the end pieces to the edge of the mantel and then marking where it met that end piece of wood.
2.Next, physically lay your wood over the mantel to measure the fit. I did this by laying out the wood so that the top piece hung over the sides just a little. This way, I could line up the end pieces so that it was flush under the top piece. I wanted the end pieces to be snug on the mantel so that I didn't have to nail it or glue it onto the brick - so make sure these measurements are precise. I’m attaching an image below to make this point more clear.

3. Cut your wood. I cut the top piece first, then lined up the side piece and marked it, so that it would be the exact same size. I always base my measurements off of what I actually cut, so that it’s more precise rather than going off what I wrote down.

TIP: Use a t-square to draw your measurement line to ensure you cut a straight line.
4. Drill your pocket holes - I used the Mini Kreg Jig to make pocket holes all along each side and end piece. You can kind of eye ball these. I put about 6-8 pocket holes on the side piece and then 2 pocket holes on each end piece.
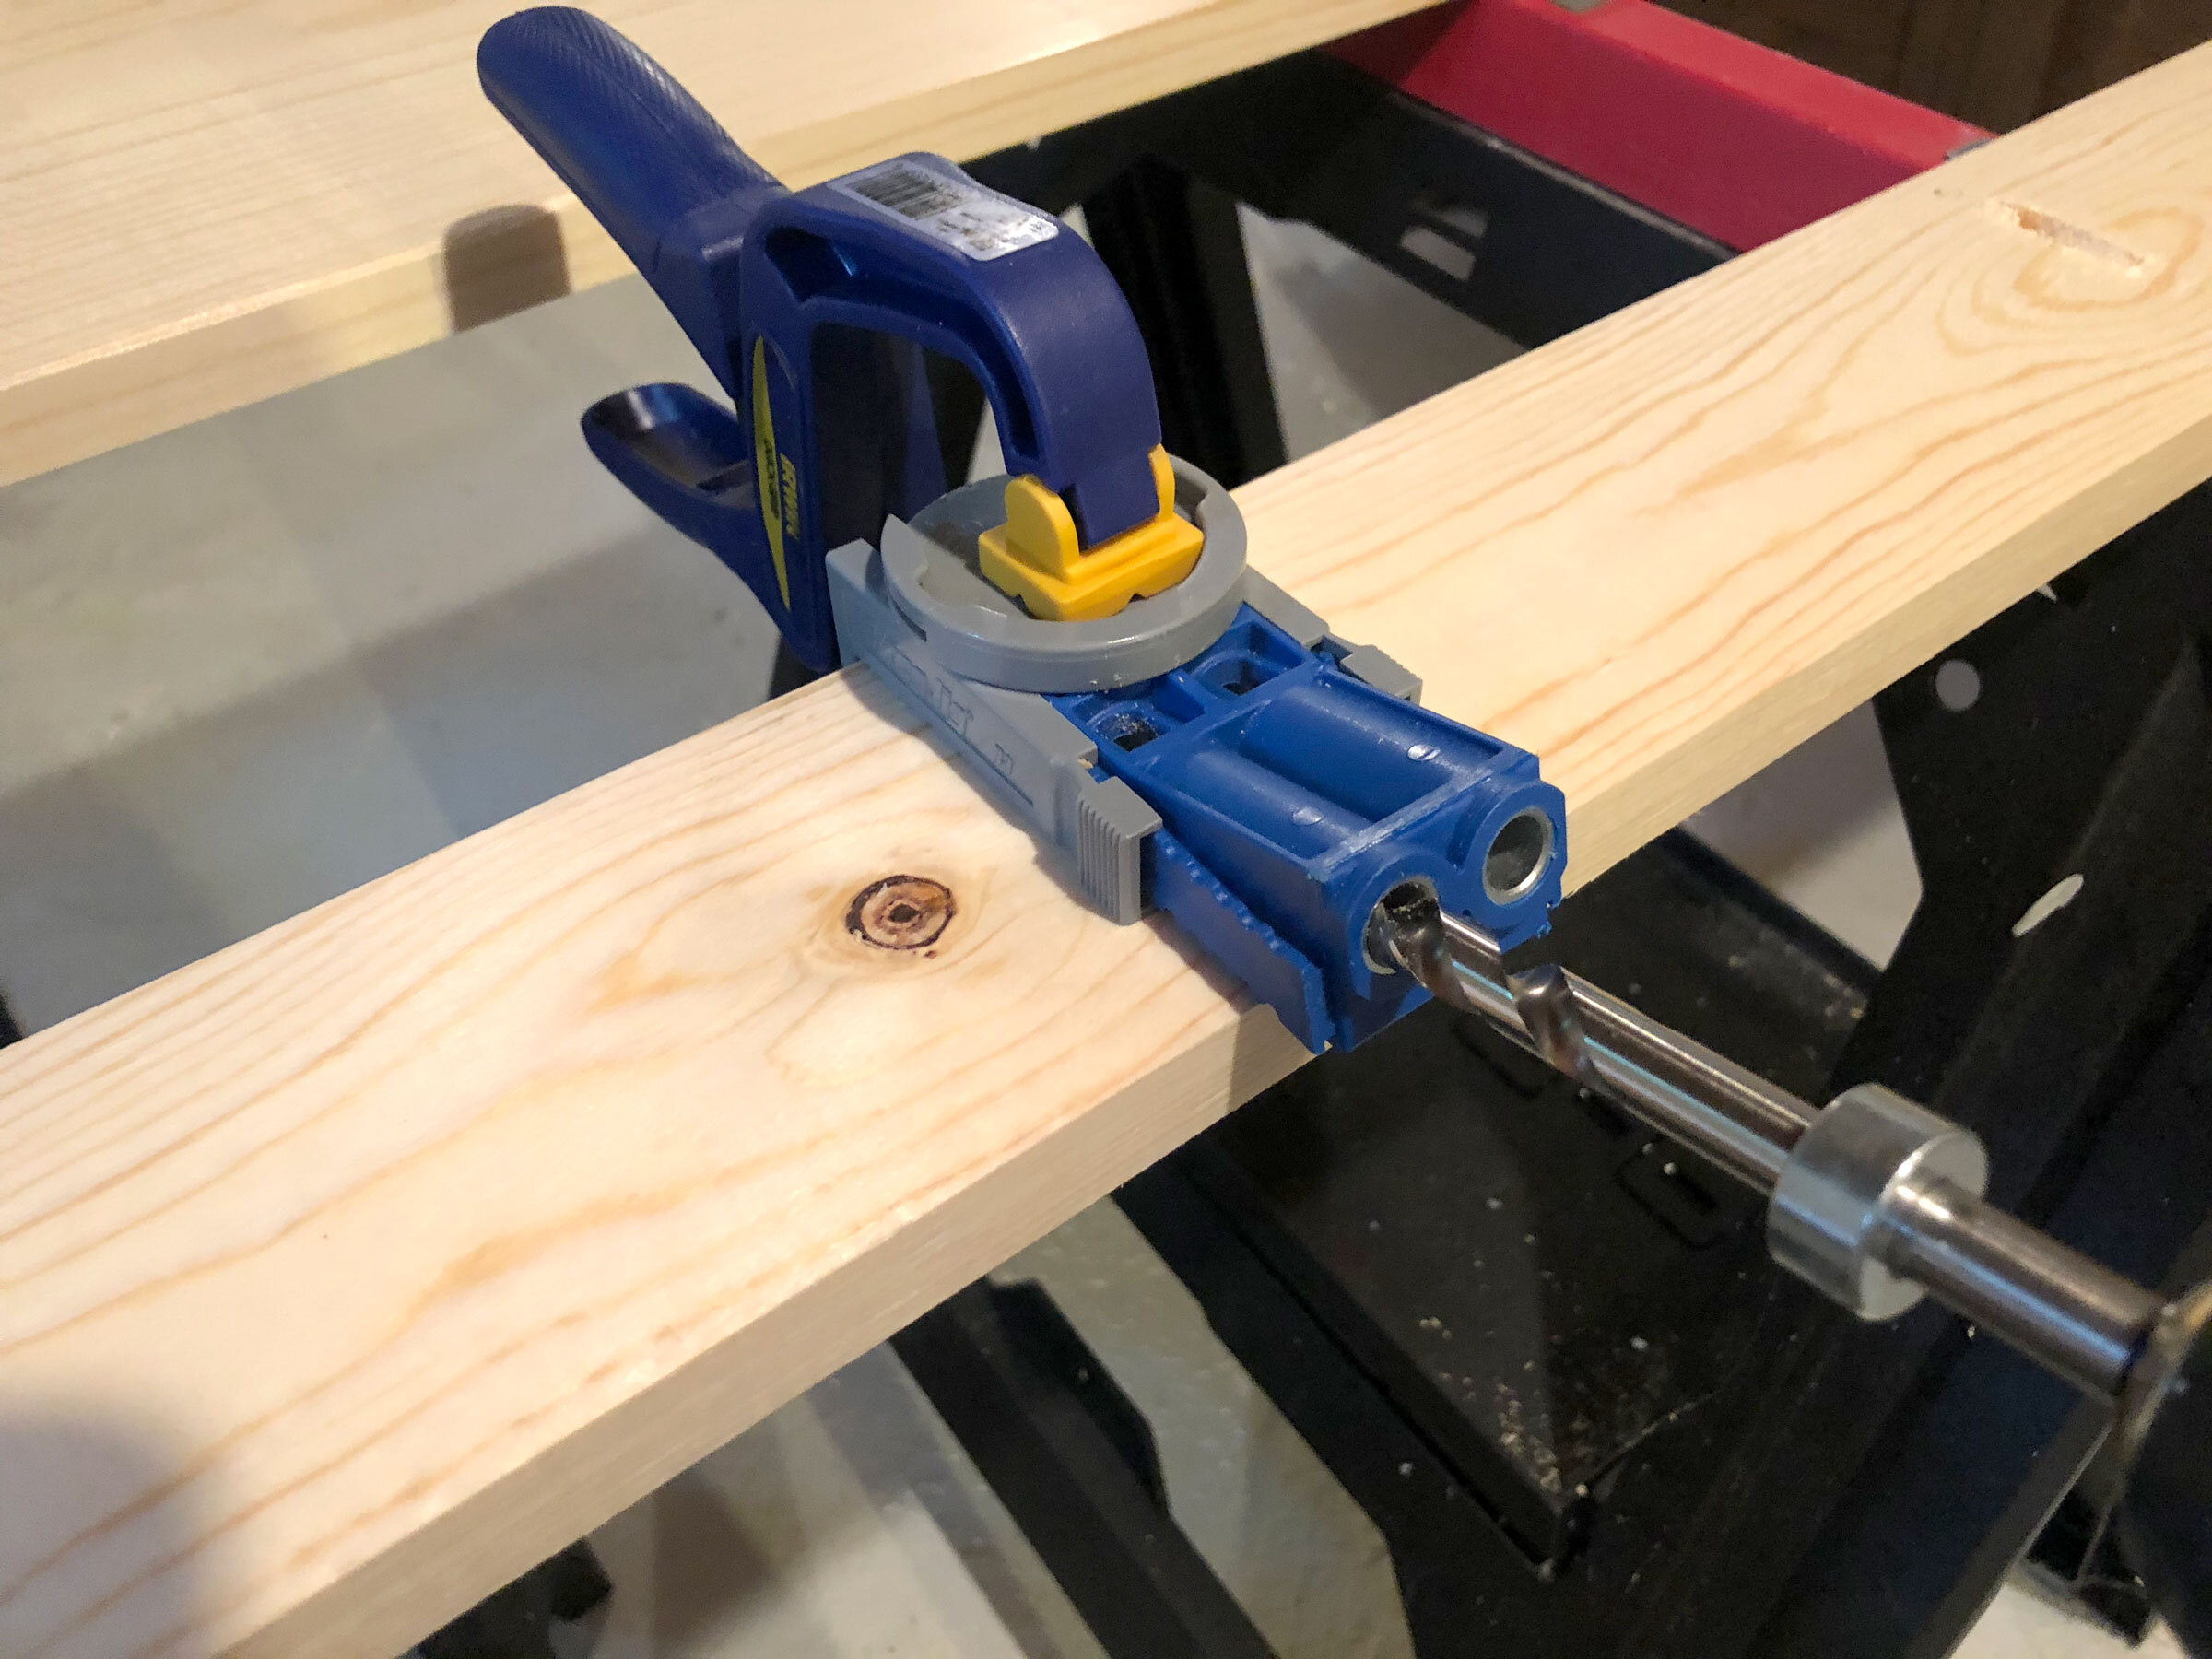
I used a clamp to hold down the kreg jig while I drilled. YOu must use the provided drill bit and follow the kreg jig instructions to set pocket hole depth.

Here’s what it will look like.. Line up the side piece to be flush with the top piece. You want the pocket holes facing the top piece.
5. Take your 1 1/4” kreg jig screws and screw in the side piece to the top mantel piece. Make sure to hold the side piece steady to make sure the two pieces are flush to each other. Don’t worry if it’s a little off, you can sand it down, but easier to just get them as close as possible to begin with ( if you want to glue your pieces together first, you would do that before you screw the pieces together).

Use the provided kreg jig bit and kreg jig screws to attach the side piece to top piece.
6. Next, screw in the end pieces in the same manner.

This is what the finished product will look like.
7. Once your frame is all put together, go ahead and sand down the whole thing. I sanded down the joints really well to make sure everything was flush together. I used an electric sander because it goes much faster and easier, but if you don’t have one you can just manually sand it with sand paper.
8. Stain and seal the wood. Wipe down the frame with a damp cloth to get any saw dust off, and then prepare to stain. You can stain using a cloth or brush. Let dry for 24 hours before you apply a seal. Once dry, follow the seal instructions.
9. Mount the frame. I was able to just slide my frame onto the mantel and it fit very snug. I felt was stable enough to not need any reinforcements. You can use your discretion here using reinforcements if need be.