How to Make Board and Batten Shutters for $150
/
Hi Friends!
This week we’re talking about my new shutters! These shutters turned out so good, and can’t wait to share how I did it. Not to mention I was able to do 4 windows (so 8 shutters) for only $150! So if you’re looking for an affordable DIY project to up the value of your house this is the one! My old shutters were not made properly by the previous owners. They were falling off the house and rotting by the day so I went ahead and decided to make these new ones that are much sturdier and professional looking! So here we go read on to see how I did it.
QUICK TIP: You can buy a Lowe’s coupon to save $20 off $100 on Ebay and save even more! Just search Lowe’s coupon on Ebay!
Materials
12 - 1x4 treated pine boards @10ft (This is based on my window height, so may vary based on window)
4 - 1x2 treated pine boards (for the cross piece)
3” Wood screws
1 ½” Wood screws
1 ¼” Kreg Jig screws
7/64 wood drill bit
Valspar Solid Stain
Wood filler
Tools
Drill
Kreg Jig (I used this one)
Electric Sander and sandpaper (rough grit)
Circular Saw
Wood clamps
Measuring tape

Note: This is the back side of the boards as you can see I wanted the black and nasty part of the board to be on the back side of the shutter.
Step One
When choosing your wood, make sure you lay it on the ground and get pieces that are not warped. Make sure they lay relatively flat. The straighter and flatter they are, the cleaner and more lined up they will be when you screw them together. I then laid all the boards out with the back side facing me, and chose the order in which I wanted the boards to be and line up, so they looked best on the front side.

Step Two
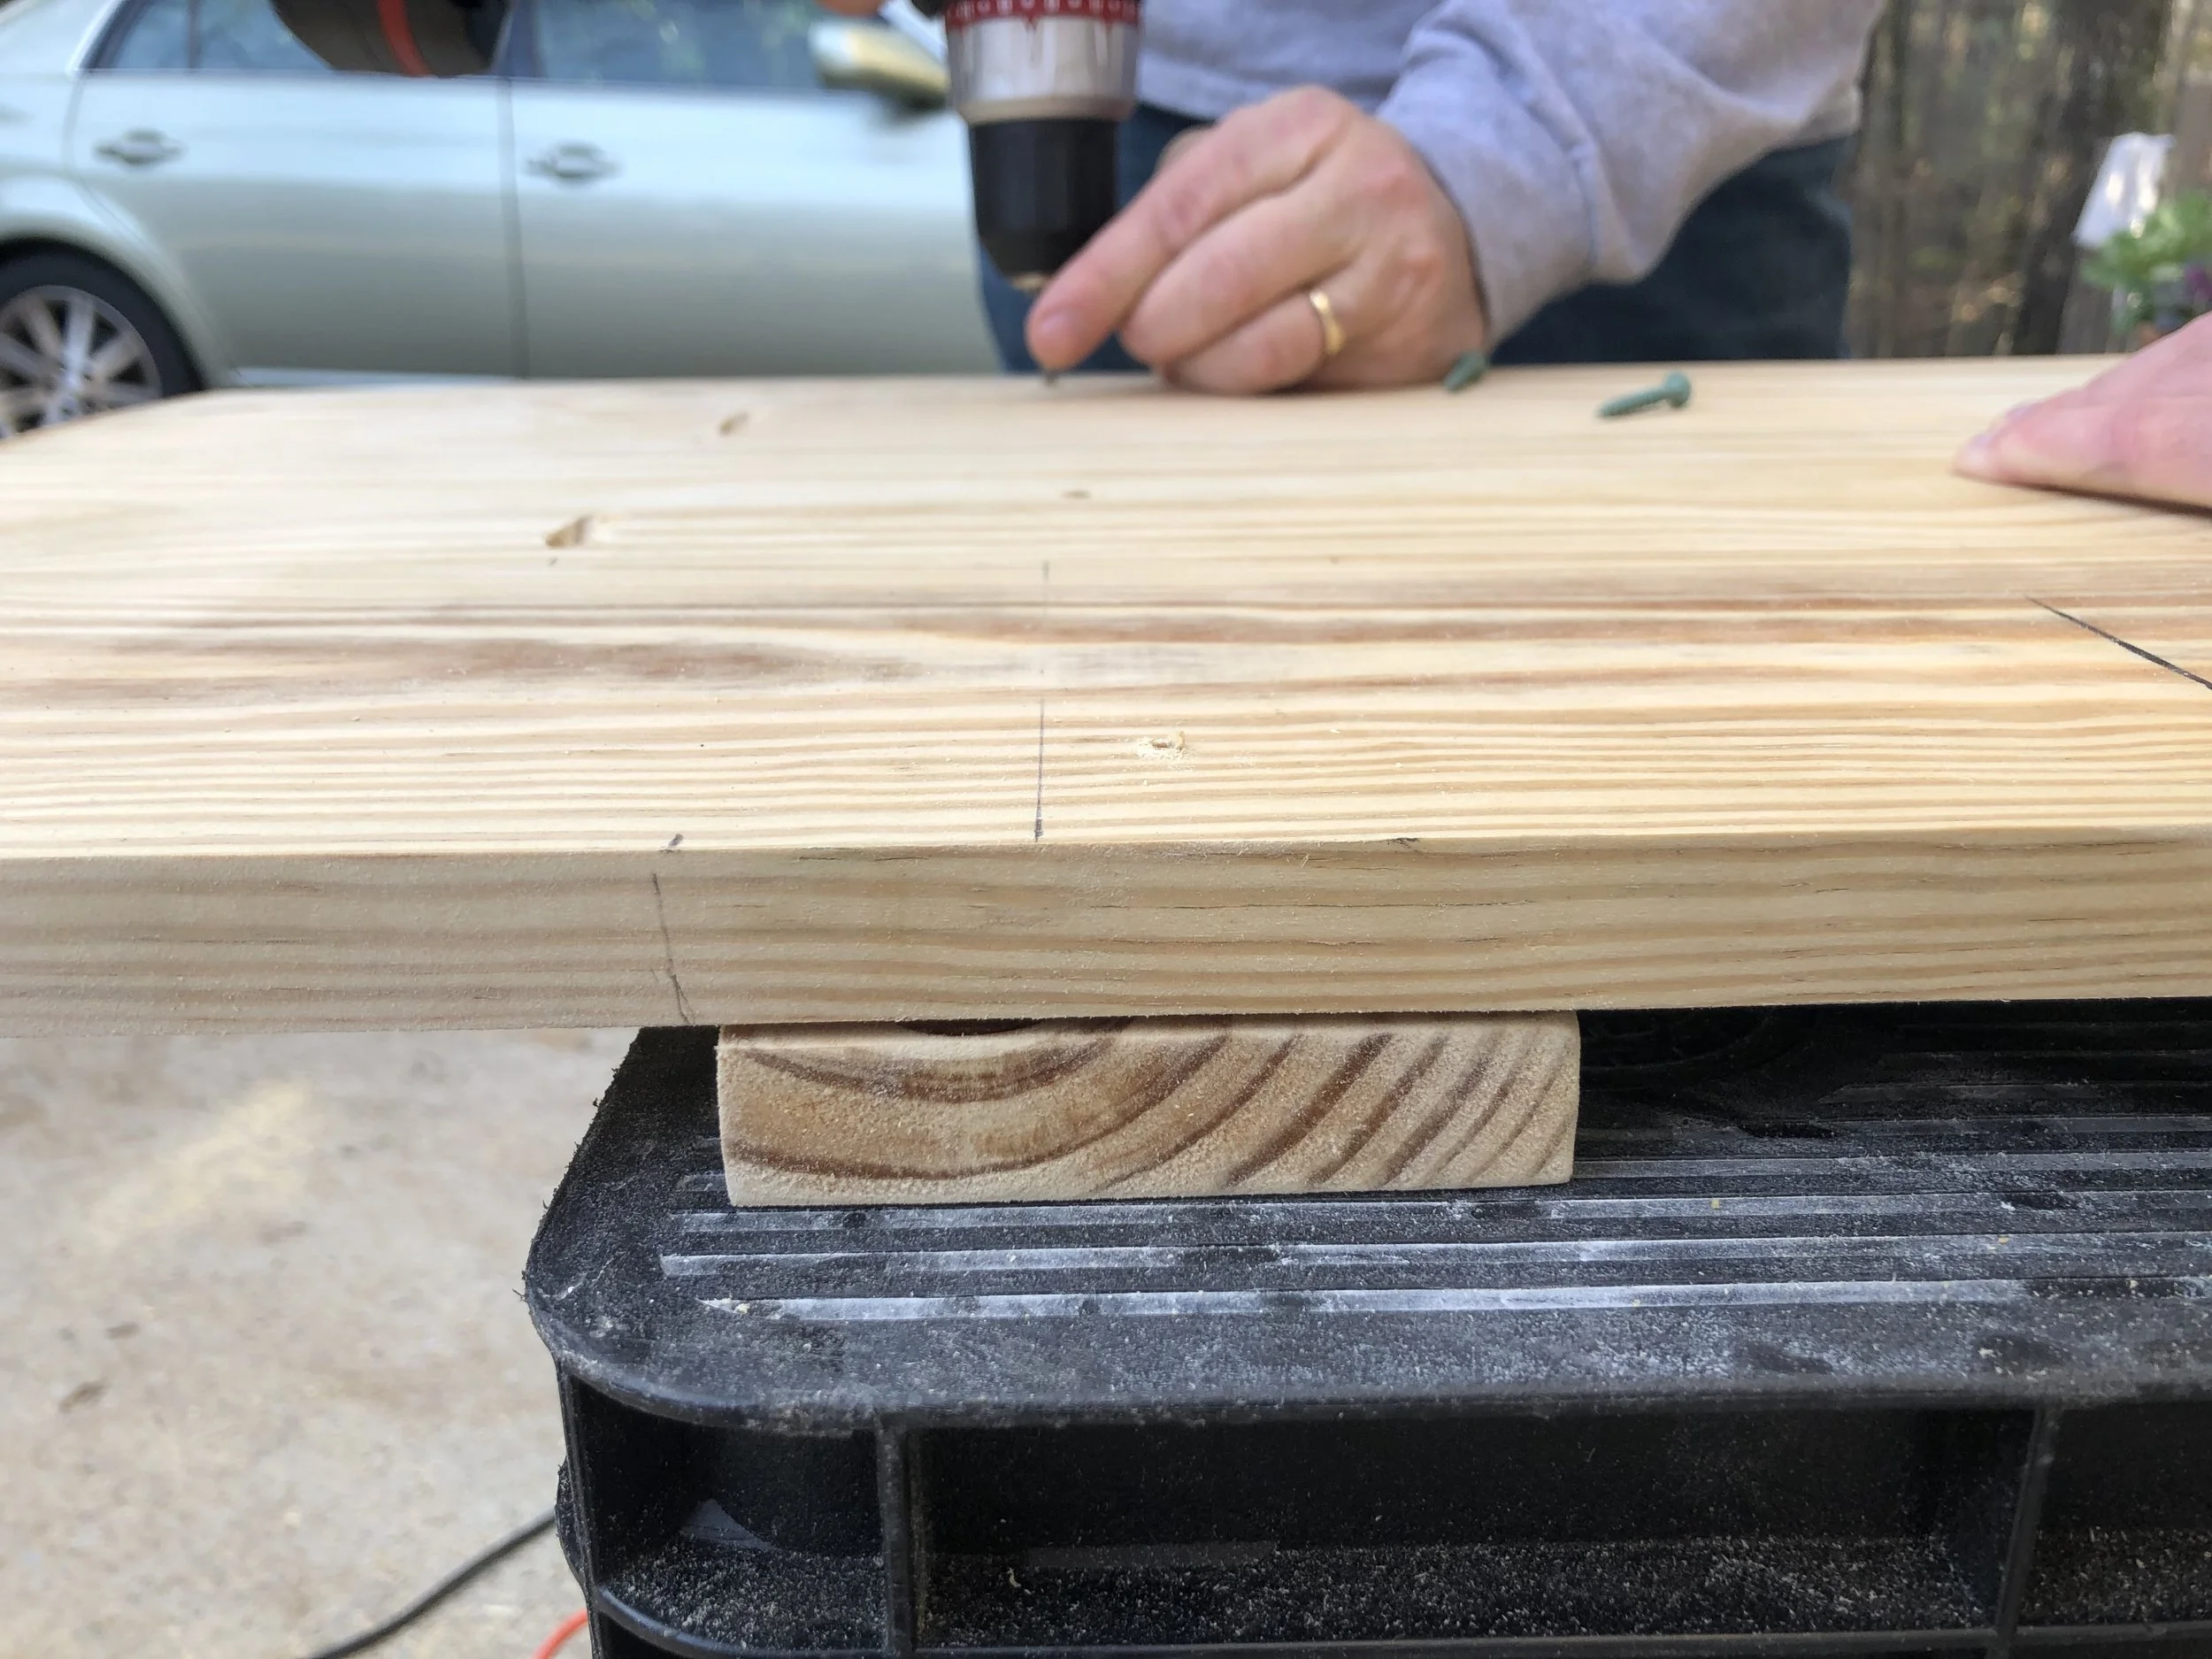
Drill your pocket holes using the Kreg Jig drill attachment. I put the wood on the saw horses and used some wood clamps to help secure the Kreg Jig. I chose to do 3 different pocket holes on each board to add extra security. Make sure to measure equidistance between each pocket hole. Once you’ve drilled all the pocket holes, take your 1 ¼” kreg jigs screws and screw each board together and you should end up with something like this.

NOTE: There is no need to add pocket holes to the last board unless you want added security.
Step Three
Cut the boards down to size. It’s best to wait until you have them all screwed together because it will ensure that you will have a straight line with all three boards. My windows were 42” tall, but be sure to measure your own windows and cut to size.

Step Four
Sand the front and back of the boards until smooth. Depending on the grit of sandpaper, if your boards are perfectly matched up, now is the time to sand the joints, so they are smooth.

Step Five
Cut down the 1x2s to the size of the shutters. I used two each, but you can also do 3 if you like. It’s also up to you where you want them, so just lay them out and measure to find the perfect spot. Mine were 9” from the edge. We pre-drilled three holes, so it it easier to get the wood screws in.
Step Six
Then screw in the board from the back, so that you can hide the screws. You can also use a nail gun, but I thought this was more secure. You can also see I lined up the boards to the pencil mark measurements to make sure we stayed straight and even.

Step Seven
Time to paint! I used Valspar Solid Stain to ensure that I got a solid color that would hold up outside in Sherwin Williams “Windstorm” from Lowe’s. Be sure to do 2 coats and also paint the back to seal the wood.

Step Eight
Last step is to put up the shutters! We used the 3” wood screws and pre-drilled holes for them so they we’re easier to put up! Make sure you sink the screws slightly so that you can fill in the wholes. Once they are up sand just the spot where you screwed them in, and fill them in with wood filler. Once dry paint over the spots and you’re DONE!